


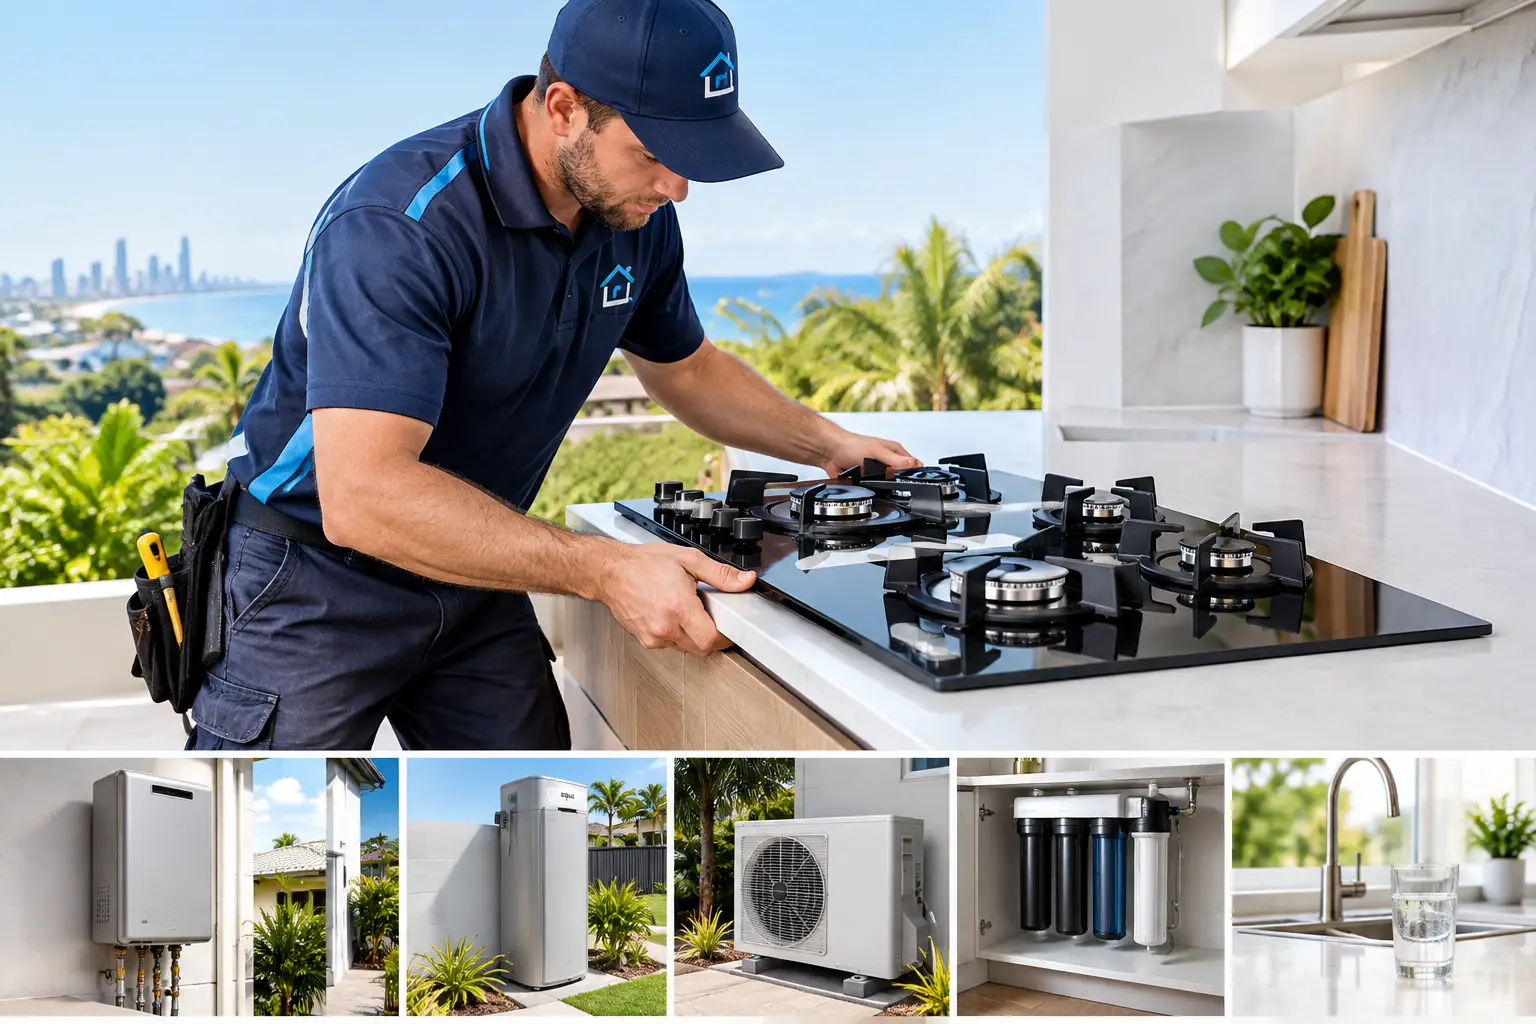
A new cooktop should make weeknight dinners easier, not leave you wondering whether the gas connection is safe, the bench has been cut correctly or the appliance will work when guests arrive. The licensed cooktop installation process is designed to remove those unknowns. It turns a new appliance into a properly connected, tested and ready-to-use part of your home.
For homeowners across the Gold Coast and surrounding areas, the key is matching the job to the appliance and the existing services. A gas cooktop needs a licensed gas fitter. An induction or electric cooktop needs a licensed electrician. Some replacements need both, especially where an old gas appliance is being swapped for an electric model.
What happens before a cooktop is installed?
The best installations start before the technician arrives. When booking, provide the cooktop make and model if you have it, along with clear photos of the current appliance, bench cut-out and nearby connections. This gives the installer a better chance to identify what is required and provide a clear quote rather than making assumptions.
The first question is whether the new cooktop suits the space. Cooktops have specific cut-out dimensions, clearance requirements and ventilation instructions set by the manufacturer. A five-burner gas cooktop may look like a straightforward upgrade from a four-burner model, but the bench opening, cabinet space below and distance from surrounding surfaces may all be different.
Your installer will also confirm the energy source. A gas cooktop may run on natural gas or LPG gas, and the appliance must be configured for the correct supply. Using the wrong gas type or injector setup can affect flame performance and safety. For electric and induction models, the existing circuit, switchboard capacity and wiring need to be assessed before work begins.
If the cooktop is being installed in a new kitchen, it is worth arranging this check before cabinetry and stone are finalised. Small changes are far easier before the bench is cut.
The licensed cooktop installation process, step by step
1. Site assessment and appliance check
On arrival, the licensed installer checks the appliance details, condition and installation instructions. They inspect the bench cut-out, cabinet below, access to the gas or electrical connection, and clearances from walls, splashbacks and rangehoods.
This is the point where any site issue becomes clear. The opening may be too small, too large or positioned too close to another fixture. A gas isolation valve may be inaccessible, or an older electrical circuit may not be suitable for the new appliance. A good installer explains the issue plainly and discusses the practical options before proceeding.
2. Safe isolation and removal of the old cooktop
If an existing cooktop is being replaced, the relevant supply is isolated before anything is disconnected. For gas appliances, that means turning off the gas at the appropriate point and carefully disconnecting the old unit. For electric appliances, power is isolated at the switchboard.
The old cooktop is then lifted out without damaging the benchtop or cabinetry where possible. This sounds simple, but adhesive, old sealant, tight cut-outs and brittle benchtops can complicate removal. It is another reason not to treat cooktop replacement as a DIY weekend job.
3. Preparing the bench and connections
The installer prepares the opening and checks that the cooktop can sit flat and secure. Depending on the appliance, this may involve fitting the supplied sealing strip, clips or brackets. The bench must support the cooktop properly without putting pressure on the glass, frame or gas components.
For gas cooktops, the fitter connects the appliance to the gas supply using approved materials and fittings. The connection needs to be protected from heat, accessible where required and arranged so that it is not strained or crushed by drawers, shelves or cookware stored below.
For electric or induction cooktops, the electrician connects the appliance in line with its electrical requirements. High-powered induction models can need more than a standard outlet can provide, so the correct circuit and isolation arrangement matter. The right solution depends on the model and your home’s existing electrical setup.
4. Securing, testing and commissioning
Once connected, the cooktop is secured into the bench and tested. For a gas cooktop, the fitter checks for leaks, lights each burner and confirms that the flame is stable and correctly adjusted. Flames should ignite reliably and burn as intended, rather than lifting, sputtering or producing excessive yellow colouring.
For electric and induction appliances, the installer checks that the controls, cooking zones and safety functions operate correctly. They will also confirm the appliance is stable, clear of surrounding surfaces and installed according to the manufacturer’s instructions.
Testing is not a box-ticking exercise. It is the part of the job that confirms the appliance and the home’s services are working together as they should.
5. Compliance paperwork and handover
Where required, the licensed tradesperson provides the appropriate compliance documentation for the work completed. Keep this with your appliance paperwork and home records. It can be useful for warranty matters, future renovations, insurance questions or when selling your property.
Before leaving, the installer should show you the shut-off point or isolator, explain basic operation and answer any practical questions. Ask about cleaning, suitable cookware for induction, or what to do if a burner will not ignite. A few minutes of handover can save frustration later.
Why licensing matters for gas and electrical work
A cooktop is used often, usually in the busiest part of the home. That is exactly why shortcuts are not worth the risk. Incorrect gas connections can cause leaks or poor combustion. Incorrect electrical work can create shock, overheating or circuit problems. A cooktop can also be damaged if it is forced into a poorly sized cut-out or installed without the required ventilation and clearances.
Licensed installers understand the technical requirements behind the visible job. They know when a simple replacement is appropriate, when an upgrade is needed, and when another trade needs to be involved. That protects your household, your appliance warranty and the value of the work you are paying for.
It also makes life easier if something unexpected is found. A service-led team can diagnose issues on site and explain the next step, rather than leaving you with a half-finished kitchen and a list of numbers to call.
What can affect the installation time and cost?
A like-for-like replacement is usually the most straightforward scenario: same energy source, similar dimensions and a suitable existing connection. Changing from gas to induction, moving the cooktop across the kitchen, altering stone or cabinetry, or upgrading wiring can add time and cost.
Access matters too. Tight cabinetry, an appliance installed above an oven, limited room beneath the bench or a difficult-to-reach gas line can all affect the scope. This is why fixed-quote booking works best when the installer has accurate details upfront. Honest information and photos help avoid surprises on the day.
If you use LPG gas, mention it when booking. The cooktop must be suitable for LPG gas or correctly converted by a licensed gas fitter. No Hassle Homes can help homeowners coordinate gas supply and qualified cooktop work without the usual run-around between separate providers.
How to prepare for installation day
Clear the benchtop and cupboard space under the cooktop before the technician arrives. Put pets somewhere safe, keep children away from the work area and make sure there is easy access to the switchboard if electrical isolation is needed. Have the new appliance, manuals and any supplied fittings on site.
If you have had intermittent ignition, unusual flames, tripping circuits or a gas smell from the old cooktop, say so before work starts. These details may point to an issue beyond the appliance itself and help the installer assess the job safely.
A properly installed cooktop should feel uneventful once the job is done: it sits securely, works as expected and lets you get back to cooking. Booking a licensed professional means that quiet confidence is built in from the start.